What to consider
A practical guide that supports better decisions.
Compare the practical details that shape a cleaner estimate: material fit, access, gates, privacy needs, maintenance, and local property conditions.
1. Confirm the fence line and approvals
Start with the legal property boundary, HOA approval when required, local height and visibility rules, and the desired relationship to existing structures. Mark gates, corners, step-downs, pool areas, retaining walls, and places where the new fence meets an old fence. A layout should be agreed on before material is ordered or excavation begins.
2. Locate utilities and private systems
Public utility marking does not normally identify every private sprinkler, lighting, propane, septic, or secondary electrical line. Discuss known private systems, irrigation valves, drainage pipes, and access limitations before digging. The project should also identify who moves landscaping, furniture, sheds, or other obstacles along the fence line.
3. Plan post spacing and grade changes
Molded panels require post spacing that matches the specific product. Small layout errors compound across a long run and can make panels bind, reveal uneven gaps, or miss a corner. Sloped yards may require stepping, transitions, different panel handling, or custom planning at low spots. The crew should establish a consistent top line without ignoring drainage or required clearances.
4. Excavate and set posts correctly
Hole depth, diameter, concrete, frost and soil conditions, wind exposure, post type, and manufacturer requirements all affect performance. Rocky or expansive Utah soil can change excavation time. Posts need enough support while remaining accurately aligned and plumb. Rushing this stage creates visible problems that panels cannot hide later.
5. Install rails, panels, and caps
After posts are secure, components are installed in the manufacturer sequence. Panels must seat correctly without forced stress, and rails or brackets must remain aligned. Caps, channels, and trim should be checked for fit. Crews should protect finished surfaces from scraping, concrete residue, and careless stacking during the work.
6. Build gates as a separate system
Gates place concentrated loads on posts and hardware. Width, swing, slope, latch position, hinges, drop rods, access, and wind all matter. A gate opening should not be treated as a missing panel. Confirm whether the project includes single, double, walk, drive, or automated gates and what reinforcement or hardware is specified.
7. Inspect the finished fence
Walk the line and check alignment, panel seating, caps, gates, latches, clearances, grade transitions, concrete cleanup, and damage. Confirm that removed material and excavation debris are handled as agreed. Keep the product, color, written warranty, and care instructions with the project records.
Why professional installation is worth comparing
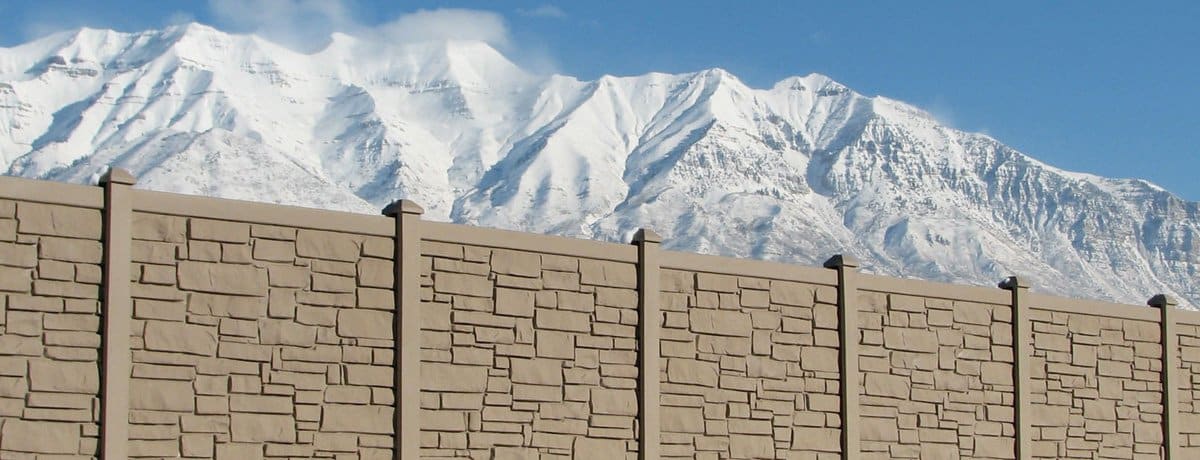
A SimTek project involves heavy panels, exact spacing, substantial post work, and gate details that can be expensive to redo. Homeowners can use this sequence to evaluate proposals and site preparation, but a professional estimate provides a realistic comparison before taking on a complex do-it-yourself installation.